A dishwasher is a lifesaver in today’s fast-paced world, taking the chore out of one of the most tedious household tasks: washing dishes. However, even the most reliable dishwasher can encounter problems, one of the most common being clogged spray arms.
The spray arms play a crucial role in a dishwasher’s functionality, spraying water and detergent onto the dishes to ensure they come out clean and sparkling. Unfortunately, these arms can become clogged with food particles, grease, and mineral deposits from hard water, leading to less-than-stellar cleaning results.
Recognizing the signs of clogged dishwasher spray arms and knowing how to address the issue can restore your dishwasher’s efficiency and extend its lifespan.
This guide will walk you through identifying, cleaning, and maintaining your dishwasher spray arms, ensuring your dishes remain spotless cycle after cycle.
Sure, let’s delve into a comprehensive guide on how to unclog dishwasher spray arms, a common issue that can hamper your dishwasher’s performance and affect the cleanliness of your dishes.
Contents
- 1 Understanding Dishwasher Spray Arms
- 2 Signs of Clogged Dishwasher Spray Arms
- 3 Preparing to Unclog Dishwasher Spray Arms
- 4 Maintenance Tips to Prevent Future Clogs
- 5 Conclusion:
- 6 FAQs
- 6.1 1. How often should I clean my dishwasher spray arms?
- 6.2 2. Can I use commercial cleaners to unclog dishwasher spray arms?
- 6.3 3. What should I do if a spray arm is damaged during cleaning?
- 6.4 4. Is it safe to use vinegar and baking soda in my dishwasher?
- 6.5 5. How can I prevent my dishwasher spray arms from getting clogged?
Understanding Dishwasher Spray Arms
Before we get into the unclogging process, it’s essential to understand dishwasher spray arms and their role. Dishwasher spray arms are vital components that spray water and detergent onto the dishes to clean them.
These arms are usually located at the bottom and top of the dishwasher, and some models also have a middle spray arm.
Over time, these spray arms can become clogged with food particles, mineral deposits from hard water, and other debris, leading to poor dishwasher performance.
Signs of Clogged Dishwasher Spray Arms
Identifying the signs of clogged spray arms early can save you from more significant issues. Here are a few signs to look out for:
- Dishes that remain dirty after a wash cycle are often the first sign that something is wrong with the spray arms.
- Reduced water pressure: If you notice that the water isn’t being sprayed with as much force as usual, there could be a clog.
- Strange noises: A blocked spray arm can cause unusual sounds during a wash cycle.
Preparing to Unclog Dishwasher Spray Arms
Before you start the unclogging process, you’ll need to gather a few tools and materials:
- Soft cloth or sponge
- Warm, soapy water
- Vinegar
- Baking soda
- Toothpick or small wire (like a paperclip)
- Screwdriver (if required)
Step 1: Turn Off the Dishwasher
Safety first. Ensure the dishwasher is off and fully cooled down before you begin maintenance work.
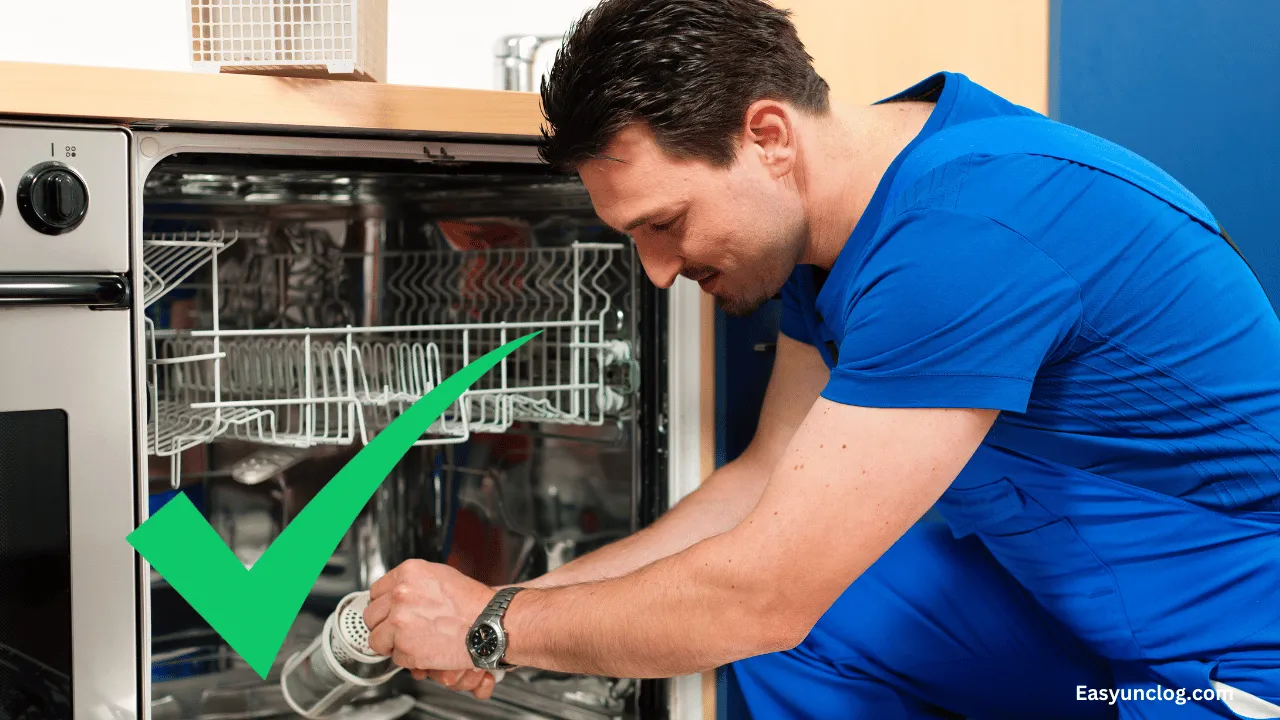
Step 2: Remove the Spray Arms
Most dishwasher models allow for the easy removal of spray arms. You can generally unscrew them by hand or use a screwdriver. Refer to your dishwasher’s manual for specific instructions related to your model.
Step 3: Rinse with Warm Water
Start by rinsing the spray arms under warm running water. This step can help dislodge any loose debris trapped in the spray holes.
Step 4: Clean the Holes
Using a toothpick or small wire, gently poke through each hole on the spray arms to remove debris. Be careful not to damage the arms.
Step 5: Soak in Vinegar
For stubborn mineral deposits from hard water, soak the spray arms in white vinegar for a few hours. Vinegar is an excellent natural descaler that can help dissolve these deposits without damaging the spray arms.
Step 6: Scrub with Baking Soda
After soaking, if there are still visible deposits, make a paste with baking soda and water and use it to scrub the spray arms gently. Baking soda is a mild abrasive that can help remove buildup without scratching the surface.
Step 7: Rinse and Dry
After cleaning, rinse the spray arms thoroughly with water, dry them with a soft cloth, or leave them out to air dry.
Step 8: Reattach the Spray Arms
Carefully reattach the spray arms to their respective locations in the dishwasher. Make sure they are securely in place to avoid any issues during operation.
Step 9: Run a Test Cycle
After reassembly, run a test cycle without dishes to ensure the spray arms work correctly. Listen for unusual noises and ensure the arms are spinning freely.
Maintenance Tips to Prevent Future Clogs
To keep your dishwasher’s spray arms in top condition and prevent future clogs, consider the following maintenance tips:
- Rinse dishes before loading: Rinsing dishes can help reduce the amount of food particles in the dishwasher.
- Clean the filter regularly: Many dishwashers have filters that catch food particles. Cleaning this filter regularly can prevent debris from reaching the spray arms.
- Use a dishwasher cleaner: Running a dishwasher cleaner through a cycle can help remove buildup inside the machine, including the spray arms.
- Soften your water: If hard water is an issue, consider using a water softener to reduce mineral buildup in your dishwasher.
Following these steps and tips, you can ensure your dishwasher’s spray arms remain unclogged and functional, providing clean dishes and efficient performance.
Regular maintenance and cleaning of the dishwasher spray arms can save you time and money in the long run and help keep your dishwasher running smoothly.
Conclusion:
Maintaining clean and unclogged dishwasher spray arms is essential for ensuring your dishwasher operates efficiently and provides clean and hygienic dishes with every cycle.
Following the detailed steps outlined in this guide, from the initial signs of clogs to the thorough cleaning process and preventive maintenance tips, can help you avoid common dishwasher pitfalls and keep your machine running smoothly for years.
Regular attention and care can prevent the frustration of finding dirty dishes after a wash cycle and save you time and money on potentially costly repairs. Remember, a well-maintained dishwasher is more than just a convenience; it’s vital to a healthy and hygienic kitchen.
So, take the time to check and clean your dishwasher spray arms regularly, and enjoy the benefits of a fully functional, efficient dishwasher that keeps your dishes impeccably clean.
FAQs
1. How often should I clean my dishwasher spray arms?
Inspecting and cleaning your dishwasher spray arms every 3 to 6 months is a good idea. However, you should clean the spray arms immediately if you notice signs of clogging, such as dishes not being cleaned properly, reduced water pressure, or strange noises during a cycle.
2. Can I use commercial cleaners to unclog dishwasher spray arms?
Yes, commercial dishwasher cleaners can effectively remove buildup inside your dishwasher, including on the spray arms. However, manual cleaning with tools like a toothpick or small wire is often necessary for direct unclogging of the spray holes. Always follow the manufacturer’s instructions when using commercial cleaners.
3. What should I do if a spray arm is damaged during cleaning?
If a spray arm is damaged during cleaning, it’s crucial to replace it to ensure your dishwasher functions correctly. Damaged spray arms can lead to inefficient cleaning and further issues. Replacement spray arms are typically available from the dishwasher manufacturer or appliance parts stores.
4. Is it safe to use vinegar and baking soda in my dishwasher?
Yes, vinegar and baking soda are safe and effective ways to clean your dishwasher and its components, including the spray arms. These natural cleaners can help remove grease, mineral deposits, and odors without damaging your dishwasher.
5. How can I prevent my dishwasher spray arms from getting clogged?
Preventing clogs involves regular maintenance, including rinsing dishes before loading them into the dishwasher, cleaning the dishwasher filter regularly, running a monthly cleaner cycle, and softening your water if you have hard water. These steps can significantly reduce the risk of clogs.

")

")